Today - 27 March 2025
Now - 12:08:17
Now - 12:08:17
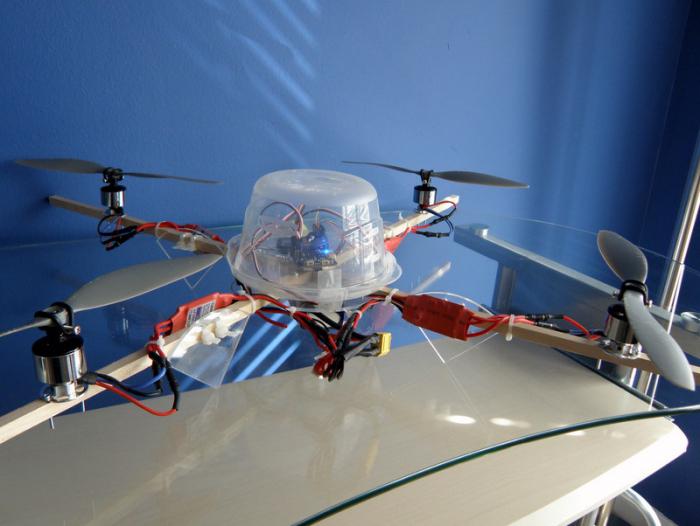
The Quadcopter is a flying platform that you control the four brushless engines with propellers. The composition of these devices included flying a multirotor platform. In flight, the drone is relative to the ground horizontal position, able to hang above the chosen place, moving laterally, up and down. The presence of special additional equipment allows the quadcopter to carry out Autonomous flights.
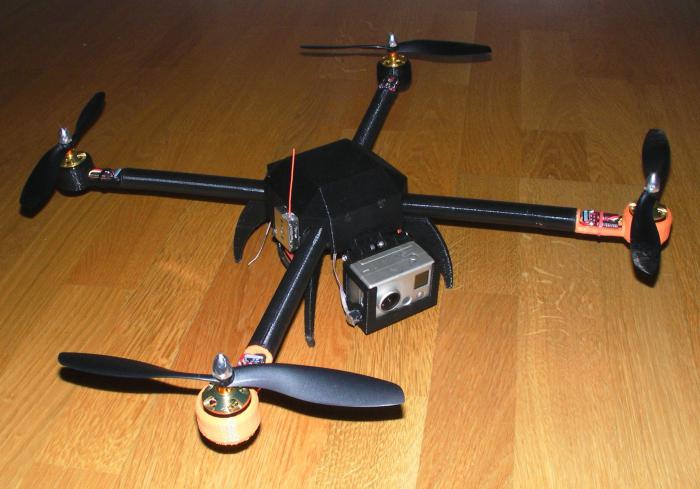
This device is equipped with four rotors, which carry out the rotation diagonally in opposite directions. Rotors is controlled by the CPU, which reports data from three gyroscopes, are designed for determining and fixing a position in space in all three dimensions. Thanks to the accelerometer manages to take a completely horizontal position. Fixing the quadcopter to the desired altitude is equipped with bartaccia. The device moves in the space due to the fact that changing the speed of rotation of one or the other of two motors. Is the roll of the quadcopter with its further displacement.

This activity began to develop in 2006. Developers from Germany Ingo Busker and Holgen buss created a quadcopter with your hands. Around him gathered a huge community of passionate people – RC modelers, programmers, and designers. In mid-2007, the quadcopter began to hover quite steadily move in the air. Such devices differ from radio-controlled helicopters in the positive direction due to the flexibility of design and low cost. Required for Quad equipment can be purchased, and then there is a huge scope for creativity. In addition, in the event of a fall is usually to repair such a device is much cheaper than a radio-controlled helicopter.
Recommended
The most effective methods of seed germination
Despite the fact that the method of seedling in vegetable production is a very time consuming process, it is used by most gardeners. Planting seeds in open ground is an easy and convenient method, but it is effective only in certain climatic zones. I...
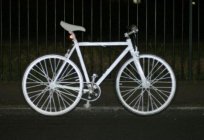
Retro-reflective paint. The scope of
When the vehicle began to fill the road, their popularity began to gain reflective paint. Thanks to this paint, as drivers and pedestrians becomes much easier to avoid accidents in the dark. Purpose paint Reflective paint – paint material, whic...

How to make icon with your own hands - options izgotovleniya (simple and complex)
In Soviet times, many collecting badges, emblems, pennants. To get them was not easy. And today, thanks to technology, you can make them yourself. Knowing how to make icon with your own hands, and you can make original gifts to your friends, and make...
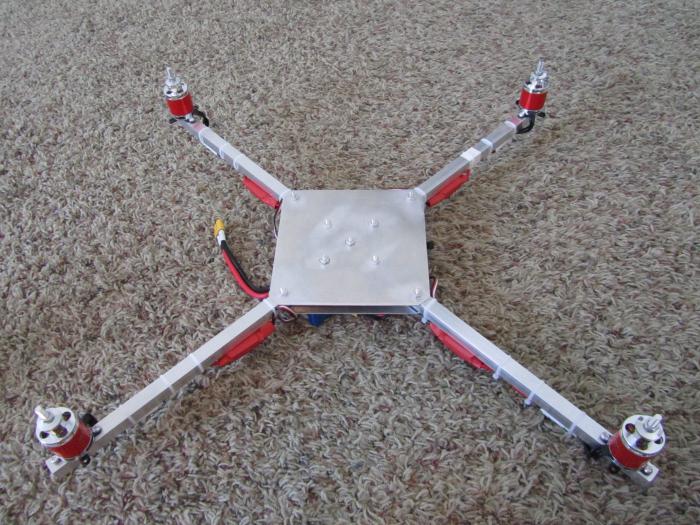
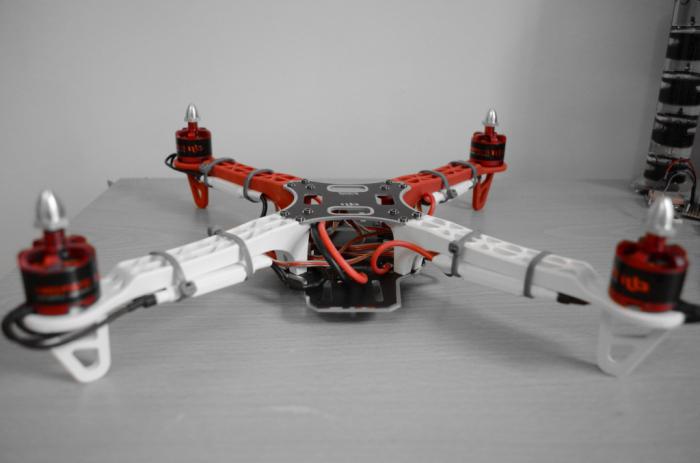
The Frame for the device, it is possible to do yourself. This would require not too many materials. Among them, a piece of plywood 150 x 150 mm square aluminum profile, 14 x 14 mm. Rays can be screwed by means of screws along the diagonals of the square. Thin aluminum strip can be used to create landing skis and holder for the battery. Each ray from the center has a length of 300 mm, and each beam-250 mm. the holes for the motors on the ends of the rays can be done after the Assembly guides on all engines.
Radio controlled quadcopter: a list of required parts
First you want to install a management fee, and try to place it as close to the center of the platform. That is, it is better to measure everything in advance, then to not got any problems with balance and other things. Holes are drilled through the previously installed plywood directly to the ends of the aluminum beams. Long metal screws are used to tie the cost directly to the rays. Speaking about how to build a quadcopter with your hands, it should be noted that the beams should not be drilled through, as does the battery adjacent to it as tightly as possible.
In the vicinity of the charge you want to install the receiver. It can be fixed by superglue. If the channel assignment at the receiver is exactly the same as those of the management Board, it is possible to do a simplified connection via two three-core cables.
When thinking about how to make a quadcopter with your hands, then you will need to mark the beams and drill holes under the engine. Distance from the edges to the axis of rotation in all cases should be exactly the same. The opening for the tail shaft, which protrudes from the bottom of the engine, you need to drill through the entire width of the square, which will see, won't latch if the shaft over its edge.
At this stage it is time to perform the following operations. First is a “spider” of the four speed controllers, and power leads must be connected in parallel by means of special adapters. To use a plug connection is only in one place – where you are connecting the batteries to “spider”. Everything else you need to solder, and then to tighten the shrink, as in flight from vibration can occur different surprises. Now you need to connect the signal wire driver in accordance with the number of motors on the control Board.
When everything is assembled, you can move on to testing and problem solving.
The First thing to say to those who are interested in howto assemble the quadcopter with your hands: don't skimp on the details. There are many firmware variants of sensors, controllers, but in this article you will learn use Arduino Mega MegaPirate firmware and also relatively cheap sensors.
To start, you need 4 motors plus 1 spare. The propeller also should get a stock must have a minimum of 2 standard and 2 reverse rotation. 4 speed regulator, plus a few spare. As a power source should not take one supremcy the battery, as it will only give extra weight to the device. It is best to prefer a few small ones, to change them one by one. The frame should be as durable and lightweight. The variant described above, can be called quite appropriate. As the brains and sensors of your device, you can use a programmable microcontroller, fee - AllInOne, accelerometer, gyroscope, control valves, batteries, charger, and much more. The latter should understand the required amount of bolts, screws, wires, ties. You will also need tools such as soldering iron and accessories, drill, and skilled hands.
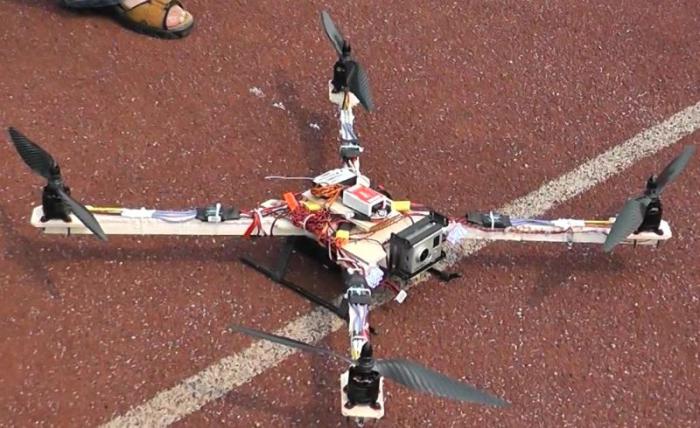
If everything described above, you have, it is possible to begin the process of drilling, soldering and twisting. Frame you can do the same as previously described, and it is possible to show imagination. But it is important only one thing: make sure the distance from the center to the ends of the beams was exactly the same, with the propeller during rotation should not touch each other and the Central part of plywood, since it includes all the sensors, brain, and camera if you wish. Installation of sensors should produce thick tape, rubber or silicone to reduce vibration. In the middle or at the ends of the beams can be mounted foam, dense foam or rubber beacons, which will assume the functions of the chassis at the moment of landing.
The Most simple option can be called buy a finished Board with four main sensors: a gyroscope intended for measurement of angular acceleration; the accelerometer to measure gravity and acceleration; the barometer, which determines the height and holds the quadcopter in it; a magnetometer that detects the direction.
At this point in the sale you can find some boards, which in addition to the four mentioned sensors, there is also the GPS receiver is actively used for Autonomous flights.
That the installation process was most convenient, it is worth to post on some Board that performs the functions of the prototype. The Pinout of the connection depends on the type of firmware that was current at the time of collection of the device, so in each case, all should be connected in accordance with the instructions.
To Find the firmware at the moment is not difficult, therefore you should download the appropriate archive and unpack it. After the firmware in the Arduino is successfully uploaded, you can upload the setup program and then close the terminal A5 with GND. When the program is running, the menu Option should be choose the COM port the Arduino, and Action - AC2 Setup. It is important that the configuration of the quadcopter is successful, and for this you need to clearly follow the instructions which will appear before you after clicking on a huge button. In one window you will need to move the knobs on the remote control to the maximum and minimum values, and another window will appear asking you to confirm that the product is exactly in order to correctly calibrate the sensors.
Control of the quadcopter is adjusted after calibration. After you finish configuring, A5 with GND you can stop, and then the find menu item AC2 Sensor, where you will be able to check whether the sensors tab Raw Sensor. Every turn the card with the sensors must be addressed as clearly as possible, that is, as turned so the arrow if it falls short or goes over the desired value, then you have a problem or with the sensor or with the coefficients in your code.
You Need to check the operation of the receiver. This is done in the next tab. If the traffic levels right, pushing the joystick to the gas for 2 seconds down to the right should light up the red led. In the slow movement of the manipulator up in the left column should be approximately the same deviation levels.
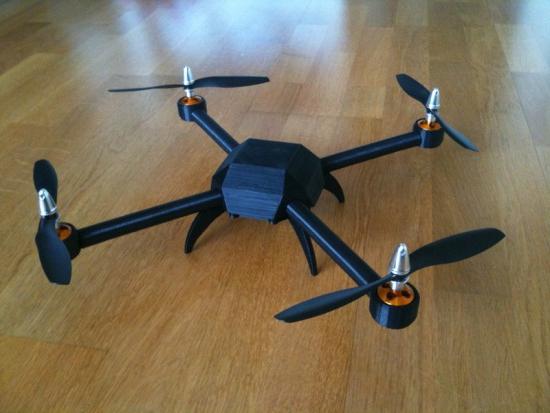
When all checks out, you can attach the propellers, and then try to take off. For this quadcopter should be placed away from yourself to tilt down and to the right the left hand, and then slowly add gas. If the device is off, it is very good, but if it shakes, you have to configure the PID. This is done in paragraph PID Config. This is all done in each situation individually, there is no universal solution. Now you know how to build a quadcopter with your hands.
Article in other languages:

Alin Trodden - author of the article, editor
"Hi, I'm Alin Trodden. I write texts, read books, and look for impressions. And I'm not bad at telling you about it. I am always happy to participate in interesting projects."
Related News

Garden paths with his hands. Equip the cottage
Own land - the dream of many inhabitants of modern cities. Today it is not the notorious six acres of plots and a shed for storage of inventory and a beautiful house and garden, created by all the rules of landscape design. Of cou...
What is the convector radiator: advantages and disadvantages
At the onset of the cold period in many homes and apartments there is a need to equip additional heating. To do this, most commonly used electric heaters. Today the market of equipment for heating are a variety of devices. To make...

Egypt is synonymous with pharaohs, the pyramids, the desert, and can be traced in the appropriate style. Elements of Egyptian art became popular only in the mid-19th century and are at the peak of fashion until now.Main features o...

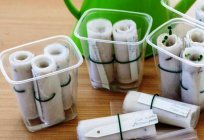
How to sterilize jars in the microwave?
Not everyone loves a delicious homemade preserves, pickles, jams. However, the procedure of their preparation, it is very troublesome. In addition to fruits and vegetables, it is necessary to prepare the container for the product....
How to fix eight on wheels bike - detailed description
How to fix eight the wheels of a Bicycle - this question is in the minds of many. Eight on the wheel is the most common problem of its deformation. The main cause is loose spokes. Consider the correctness of a tension of spokes, t...

How to store gladiolus in the winter to enjoy their beautiful blooms in the summer
the Gladiolus has always occupied a pride of place among the other flowers in gardens and suburban areas. Gorgeous blossoms, is the noble form of the stem and species diversity are the main reasons for the popularity of these beau...


Comments (0)
This article has no comment, be the first!